Remove Figma Prototype Links: A Guide by BiblioKit (2026)
In the world of design, Figma stands out as a powerful tool for creating stunning interfaces and seamless prototypes. However, as projects evolve, you might find yourself needing to remove prototype links to refine your designs or start afresh. This guide will walk you through how to remove all prototype links in Figma, ensuring that your design workflow remains smooth and efficient.
Understanding Prototype Links in Figma
Before diving into the removal process, it's crucial to understand what prototype links are and why they're used. Prototype links in Figma connect different frames or elements, allowing designers to simulate the user experience by navigating through the design. These links are essential for testing interactions and ensuring that the design functions as intended.
Why Remove Prototype Links?
- Design Overhaul: You're reworking the design and need a clean slate to implement new interactions.
- Error Correction: Incorrect links were added, causing confusion or errors in the prototype.
- Streamlining: The design has evolved, and certain links are no longer necessary.
Manual Removal of Prototype Links
One straightforward method to remove prototype links is manually through the Figma interface. Here's how you can do it:
Step-by-Step Guide
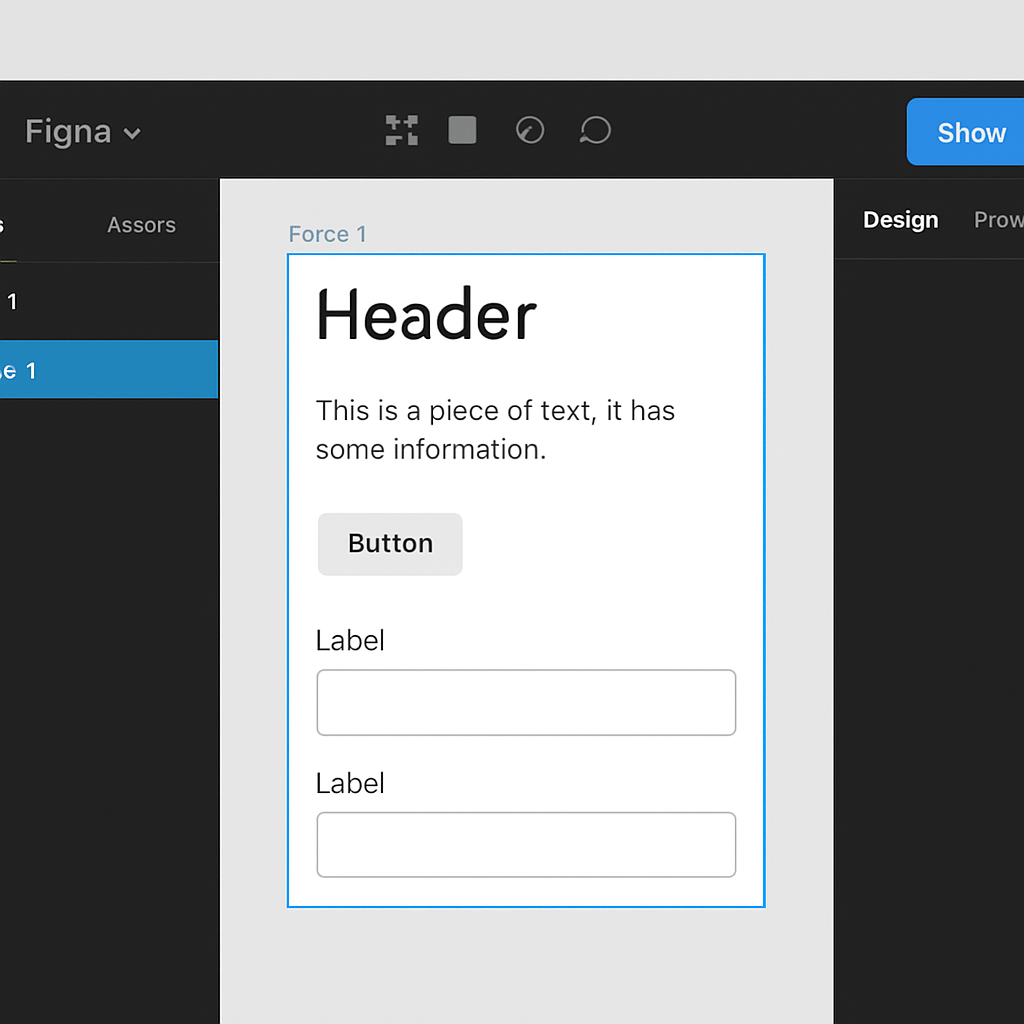
- Open the Prototype Tab: Launch Figma and open the project you're working on. Click on the frame containing the prototype links you want to remove. Then, navigate to the "Prototype" tab in the right-hand panel.
- Select the Link: Hover over the element that has a prototype link. You'll see a line indicating the connection to another frame. Click on this line to select it.
- Delete the Link: Once the link is selected, press the "Delete" key on your keyboard. This action will remove the prototype link from the element.
- Repeat as Necessary: Continue this process for each link you want to remove. Check your prototype to ensure all unwanted links have been deleted.
Pros and Cons of Manual Removal
- Pros: Provides complete control over which links are removed; no additional tools required.
- Cons: Can be time-consuming for projects with numerous prototype links.
Method 2: The "Pro" Way (Instant Automated Cleaning)
For professional teams, manual deletion isn't an option. You need to wipe the slate clean without breaking your components. Use the Manage Figma Prototype Links checklist so designers, developers, and marketers stay aligned on the right build.
This is why we built BiblioClean, our Figma plugin for removing prototype links safely.
Why Generic Plugins Are Dangerous
Most "Link Remover" scripts are too aggressive. They nuke everything, including the interactions inside your design system components.
Scenario: You run a generic cleaner. It strips the "Hover" state from your Primary Button master component. Now every button in your system is broken.
The Safe Solution: BiblioClean
BiblioClean is the only utility designed with safety guardrails for design systems.
How to use it
- Install BiblioClean. It is 100% free.
- Select Scope: Choose "Current Selection" or "Entire Page."
- Check Safety: Ensure "Warn on shared components" is checked. This protects your library masters from being stripped.
- Click Clean: Instantly remove hundreds of links.
Get BiblioClean for free on Figma. Remove blue lines, track time saved, and protect your design system.
Using Figma Plugins to Remove Prototype Links
For those looking to streamline the process, Figma offers various plugins that can help manage and remove prototype links more efficiently. Let's explore some popular plugins that can assist in this task.
Popular Figma Plugins
- Link Manager: This plugin provides a comprehensive overview of all prototype links in your project. You can easily select and remove multiple links at once.
- Prototype Cleaner: Designed to clean up your project, this plugin allows you to remove all prototype links in a single click, perfect for starting fresh without manual deletion.
- Organize Links: While primarily for organizing, this plugin also offers features to remove unnecessary links, helping maintain a tidy workspace.
How to Install and Use Plugins
- Install the Plugin: Open Figma, click on the "Plugins" tab in the top menu, and select "Browse Plugins in Community." Search for the desired plugin and click "Install."
- Activate the Plugin: Once installed, access the plugin through the "Plugins" menu in your project. Select the plugin you wish to use.
- Remove Links: Follow the plugin's instructions to remove prototype links. Each plugin will have a slightly different interface, but generally, you can select and delete links with ease.
Pros and Cons of Using Plugins
- Pros: Saves time, especially for large projects; easy to manage multiple links simultaneously.
- Cons: Requires installation; some plugins may have a learning curve.
Best Practices for Managing Prototype Links
To avoid the need for frequent link removal, consider adopting some best practices for managing prototype links in your Figma projects:
Plan Your Interactions
Before adding prototype links, plan the user flow and interactions. This foresight reduces the risk of adding unnecessary links and streamlines the design process.
Regularly Review Your Prototype
- Regularly review your prototype to ensure all links are relevant and functional. This habit helps maintain a clean and efficient design environment.
Use Naming Conventions
- Implement consistent naming conventions for frames and elements. Clear labeling makes it easier to track links and identify which ones need removal or adjustment.
Conclusion
Removing prototype links in Figma is a manageable process, whether done manually or with the help of plugins. By understanding your options and implementing best practices, you can keep your design projects organized and efficient. Whether you're a seasoned designer or new to Figma, these strategies will help you maintain control over your prototypes and ensure a smooth user experience.
Remember, the key to effective design is flexibility and adaptability. As your projects grow and change, your ability to manage prototype links will ensure that your designs remain intuitive and cohesive.

Want to automate this cleanup? Try <a href="/figma-plugin-remove-prototype-links">BiblioClean</a>, our free Figma plugin that removes all prototype links in one click. Or check out our <a href="/resources/remove-prototype-link">prototype link cleanup checklist</a> for a repeatable workflow.
By mastering the art of prototype link management in Figma, you can elevate your design projects and deliver exceptional user experiences. Happy designing!
Tools for this workflow
Recommended BiblioKit Plugins
FAQs
Frequently Asked Questions
Quick, action-focused answers pulled from this playbook so you can apply it faster.
What's the fastest way to delete a single prototype link in Figma?
Select the frame, click the connection line in the Prototype tab, and press Delete. It keeps the design intact while instantly removing that interaction so you can rewire the flow.
Can I clear every prototype link in a file at once?
Yes. Plugins like Prototype Cleaner or Link Manager remove all prototype connections in seconds while leaving frames and components untouched—perfect for restarting a flow without redrawing screens.
Will removing links delete frames, comments, or design assets?
No—deleting prototype links only removes the interaction lines. Your frames, layers, comments, and design tokens stay put, and the preview simply reflects the updated interaction map.
How do I avoid breaking handoff when I strip prototype links?
Duplicate the page or create a version checkpoint, then remove links and re-publish. Share the new clickable paths with engineering so everyone tests against the same, cleaned-up flow.
Learn
Design Ops Fundamentals
We built this evergreen mental model so designers, developers, and marketers can align design systems, handoff, implementation, launch, and campaigns.
Read the guideNext & previous
Before
How to Find and Fix Detached Instances in Figma (2026 Guide)
Spot detached instances fast so Figma systems stay linked without drift.
Figma Plugins • 7 min read
Next
Best Practices for Effective Design System Guidelines
Build design system guidelines that keep components consistent and shipping speeds up.
Design Systems • 9 min read
Related articles

How to Install and Uninstall a Figma Plugin: A Beginner's Guide
Learn how to install and uninstall Figma plugins in minutes. Step-by-step guide for beginners.
Figma Plugins • 4 min read
Stop the Chaos: The Best Figma Plugins to Organize Design Files in 2026
Organize Figma files fast with the best plugins for cleanup, naming, and handoff safety so teams ship without chaos.
Figma Plugins • 4 min read

Scaling Your Design System: A practical guide to scalability and cross-team collaboration
Scale design systems with governance models, architecture patterns, tokens, and team collaboration strategies.
Design Systems • 12 min read